The first time I bit into a cinnamon roll at a specialty café, I got stuck on one thought: why does this cost 65 pesos? It wasn’t a complaint, it was curiosity. The roll pulled apart in layers, it had a sticky bottom no supermarket bread has, and yeah — it was worth the 65 pesos. That’s when the question hooked me: what makes it so different from the one anyone bakes at home?
Spoiler: mine didn’t come out the same. But they were tasty, and along the way I figured out exactly why those rolls cost what they cost. This post is that — what I learned, what went wrong the first time (which was a lot), and how to get close to that café roll in your own kitchen.
The short answer: a genuinely enriched dough and, above all, overnight cold fermentation. We start there — the highest-impact change for the least effort.
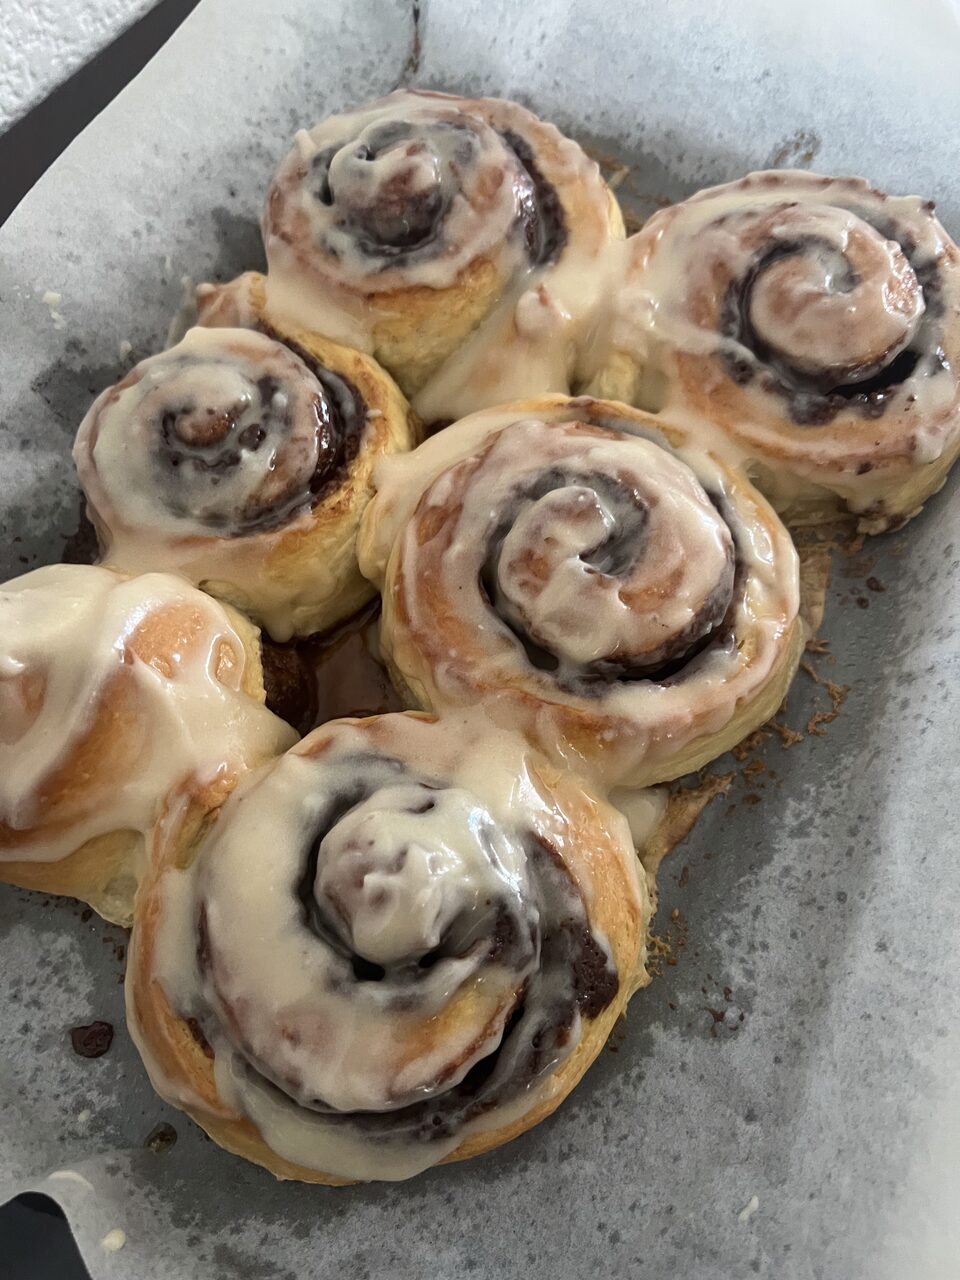
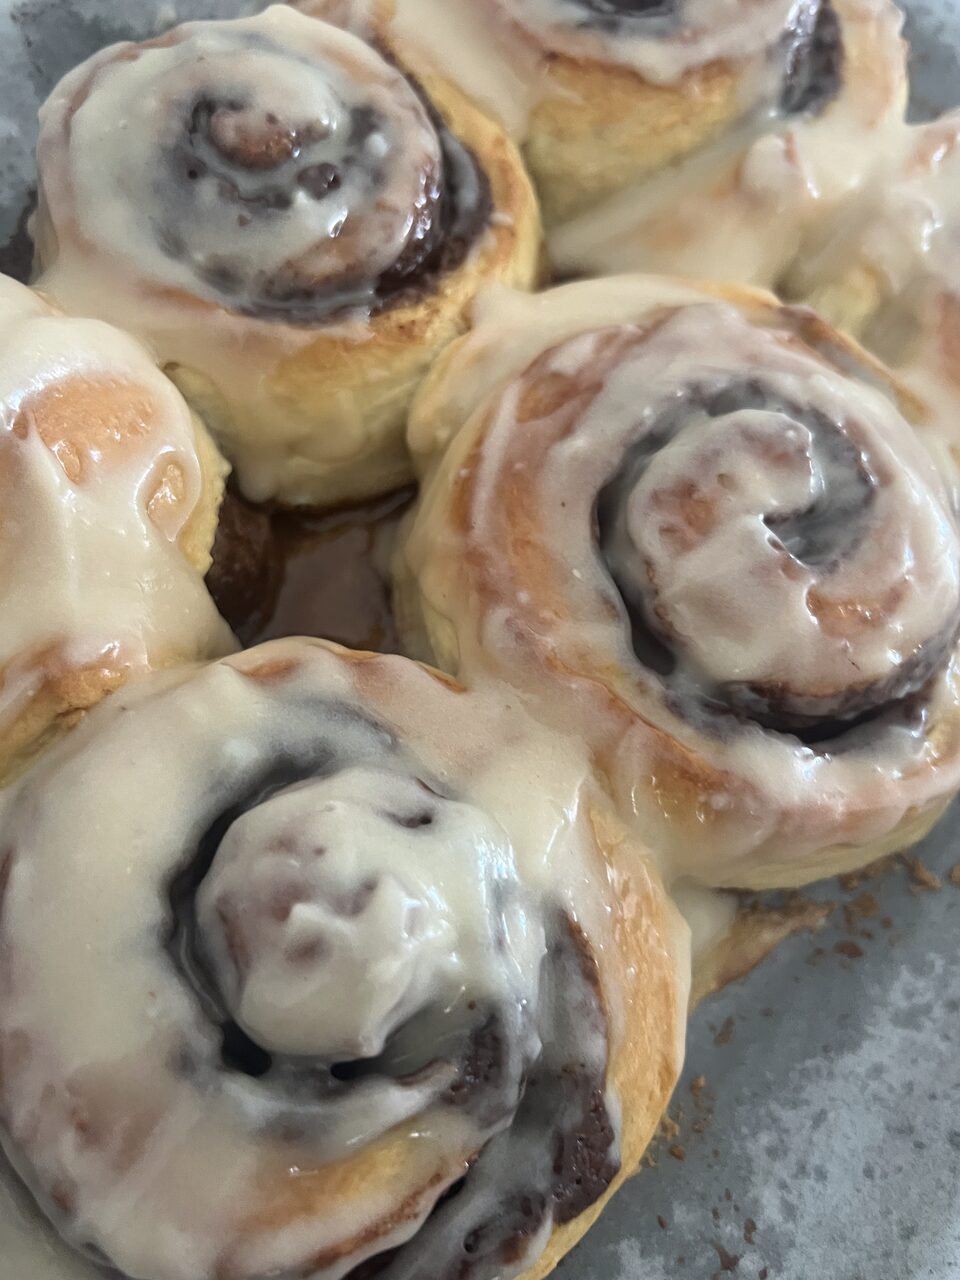
The result: cinnamon rolls fresh out of the oven, covered in cream cheese glaze.
Overnight fermentation (the secret)
Cold fermentation (cold proof or retarding) means shaping the rolls today and putting them in the fridge 12-18 hours before baking. Cold doesn’t stop the yeast, it just slows it down. While the dough sleeps in the fridge, two things happen.
The first is flavor: slow fermentation develops more complex, slightly tangy notes, like good bread. A roll made same-day in 3 hours never gets there. The second is handling: cold dough is firmer and easier to cut evenly, and the next-day bake comes out more uniform. It’s exactly what many cafés do: shape in the afternoon, retard overnight, bake in the morning to sell fresh.
How you actually do it — step by step
Day 1 (afternoon/night):
- Make the full dough (recipe below) and give it a short first rise: ~45-60 min at room temp, until it grows a little but doesn’t fully double (~50-70%). This matters: if it doubles before the fridge, it over-ferments overnight.
- Roll out, fill, roll up and cut 12 pieces.
- Arrange in a greased pan, spaced so they have room to grow.
- Cover very well — plastic touching the surface or an airtight pan. If air gets in, they form a skin and dry out.
- Into the fridge, 12-18 hours.
Day 2 (morning):
- Take out the pan and let it come to temp and finish proofing on the counter: 1-2 hours depending on how cold your kitchen is. Don’t watch the clock, watch the dough: they should look puffy, touching each other and jiggle slightly when you move the pan.
- Meanwhile, preheat the oven.
- Pour the warm cream between the rolls and bake.
Most common mistake: baking them cold and under-proofed straight from the fridge. They come out dense. The morning’s patience is half the result.
Dose trick: if you want to retard 18-24 h, drop the yeast to ~5 g. More time, less yeast = more even fermentation with no risk of over-proofing.
The specialty recipe (richer, dialed in)
An enriched version of the tangzhong base. More butter, more filling, balanced glaze. 12 pieces.
Tangzhong (roux): 25 g bread flour · 60 g milk · 60 g water. Cook over medium heat, whisking, until it thickens like a paste and the whisk leaves streaks. Let it warm down.
Dough: 350 g bread flour (~12% protein) · 50 g sugar · 6 g salt · 7 g instant dry yeast (or 5 g if retarding 18-24 h) · 120 g warm milk · 1 egg + 1 yolk · all the tangzhong · 85 g butter, softened (this is what gives the brioche crumb) · optional: 2 g ground cardamom.
Filling: 110 g brown sugar (the molasses adds depth) · 16 g ground cinnamon, fresh and good quality · 65 g very soft butter (pro option: cooled browned butter) · pinch of salt.
Cream bath: 120 g heavy cream, warm, right before baking.
Cream cheese glaze: 60 g cream cheese · 30 g butter · 90 g powdered sugar · 15 g milk · real vanilla or orange zest · pinch of salt.
Dough process: mix flour, sugar, salt and yeast. Add warm milk, egg, yolk and tangzhong. Knead until combined, add the butter in pieces and knead 10-12 min until the windowpane (the dough stretches translucent without tearing). With 85 g of butter it takes a bit longer to come together — that’s normal, keep kneading. Then continue with the short rise → shape → overnight retard.
Baking next day in an electric oven
Home electric ovens have two quirks: the dial lies and the top element browns hard. Here’s how to control them:
- Preheat fully, 20-30 min. Thermal inertia matters more than the dial number.
- Use an oven thermometer — almost no home electric oven is calibrated. Aim for 175 °C / 350 °F with the fan or 185-190 °C without the fan.
- Rack in the center. If your oven only has top and bottom heat, the center keeps them from burning on top before they cook through.
- Tent with foil (loosely) if at ~15 min they’re browning a lot on top but the center is still raw.
- Rotate the pan halfway through — electric ovens have hot spots.
- Time: 22-28 min, but for small pieces check from min 13. The center should hit 88-90 °C internal. This enriched dough barely browns on top: go by the toothpick, not the color.
- Glaze warm, not hot, so the cream cheese doesn’t melt and slide off.
Interactive step-by-step guide
An animated 11-step walkthrough split into Tonight and Tomorrow phases, with the amount of each ingredient per step, the kneading technique (push · fold · turn), and real-world notes from my first batch. (Interface in Spanish for now.)
Diary of the first batch (what really happened)
No-one’s first batch goes by the book. And that’s exactly why it’s worth telling.
Kneading was the hardest part — literally. I already had a sore back from all the kneading, and when it came time to add the butter and give it that extra knead… ugh. The dough turned slippery, it felt awful in my hands and it looked like I was ruining it. A genuinely creepy experience. But it turns out that phase is normal: butter always “breaks” the dough for a few minutes before it comes back together. You have to push through — sore back included — until it’s smooth again and passes the windowpane test.
Before that, the dough was sticky and spread out all over the counter. I thought it needed more flour, but no: it was a well-hydrated dough, and adding flour would only have dried it out. The slap & fold technique (lift, slap, fold) plus a bench scraper to unstick it saved the day.

The sticky dough spread across the counter. It looked like a mistake, but it was a well-hydrated dough — slap & fold saved it, not flour.
The night changed the plan. I made these with my girlfriend, and she doesn’t usually stay up late. I would’ve held out to shape the rolls before fridging them, but that came up and I had to solve it on the spot: put the whole dough in the fridge as a block and shape the next day. Funny thing is, that improvisation turned out to be a real bakery technique (cold bulk fermentation). It worked… almost.
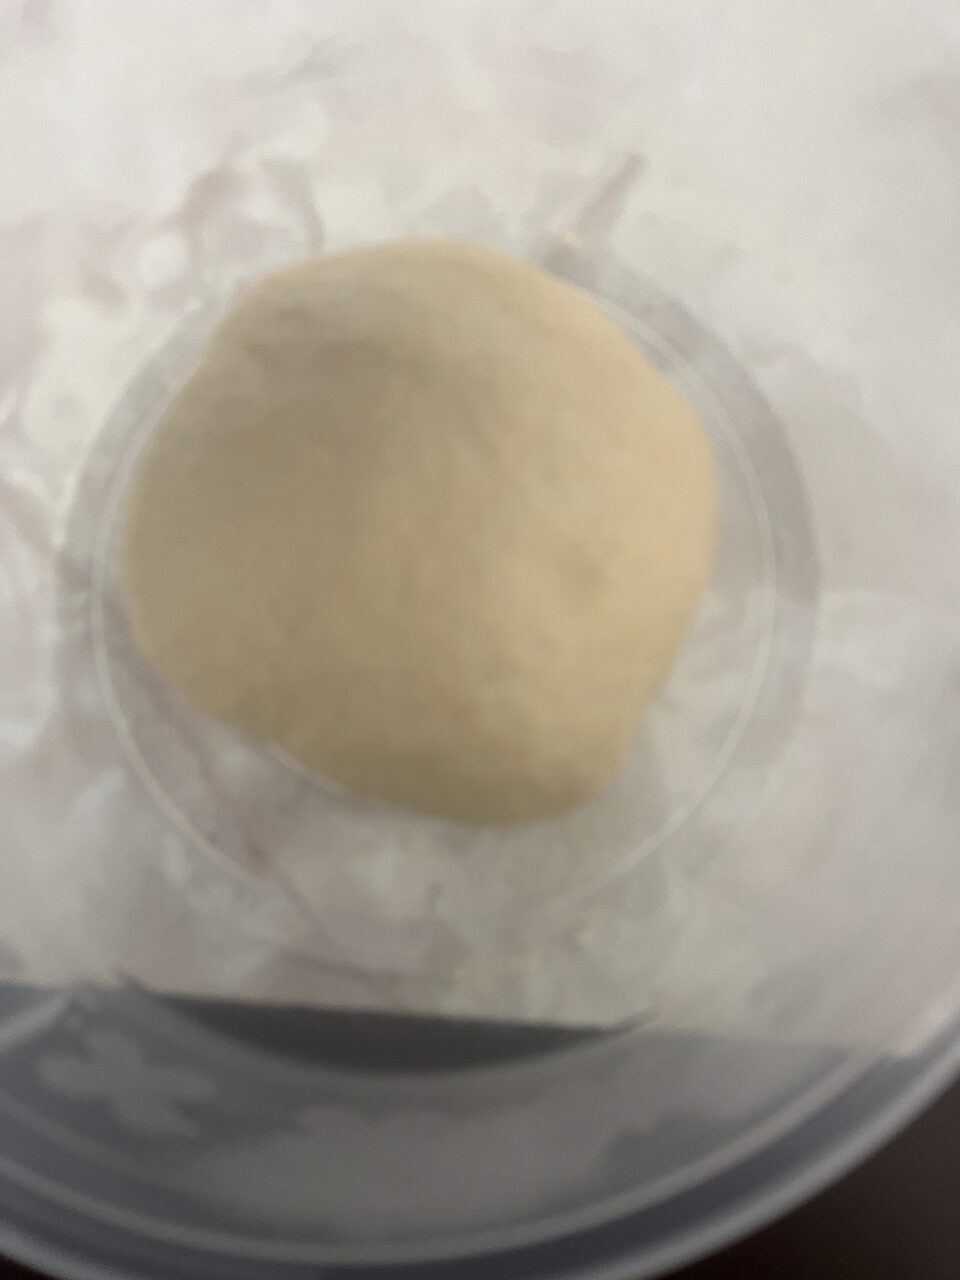
After the rescue: the degassed dough, shaped into a smooth ball, ready to roll out.
The catch: I over-fermented it. Between putting it in at 11:30 pm and baking past 1 pm, it was about 13 hours. When I pulled it from the fridge it smelled strongly of beer. It cracked me up — I even started wondering whether bakers grow to love or hate actual beer from smelling it so much. That aroma is alcohol: the yeast got greedy. You rescue it by degassing the dough (pressing it to push out the gas and the smell), and whatever aroma is left bakes off in the oven.

The rolls shaped and cut, ready for the fridge.
The oven and the substitutes. Countertop electric oven, BAKE at 350 °F. I didn’t have heavy cream, so I improvised the bath with evaporated milk + a teaspoon of melted butter. And when the top started browning with no foil on hand, the fix was to lower the rack.
The first-batch verdict: 80/100. They didn’t come out café-grade — they barely browned on top and felt a little firm/dry (blame the over-fermentation, baking them spread apart, and a couple extra minutes). I also found them a bit too sweet: I think the filling sugar got concentrated. But you know what? They were good. I ate them happy, I felt proud, and yes — I’d do it again, now with the adjustments I learned. For a first try, rescuing a dough that was half ruined, I’ll sign off on 80 out of 100.
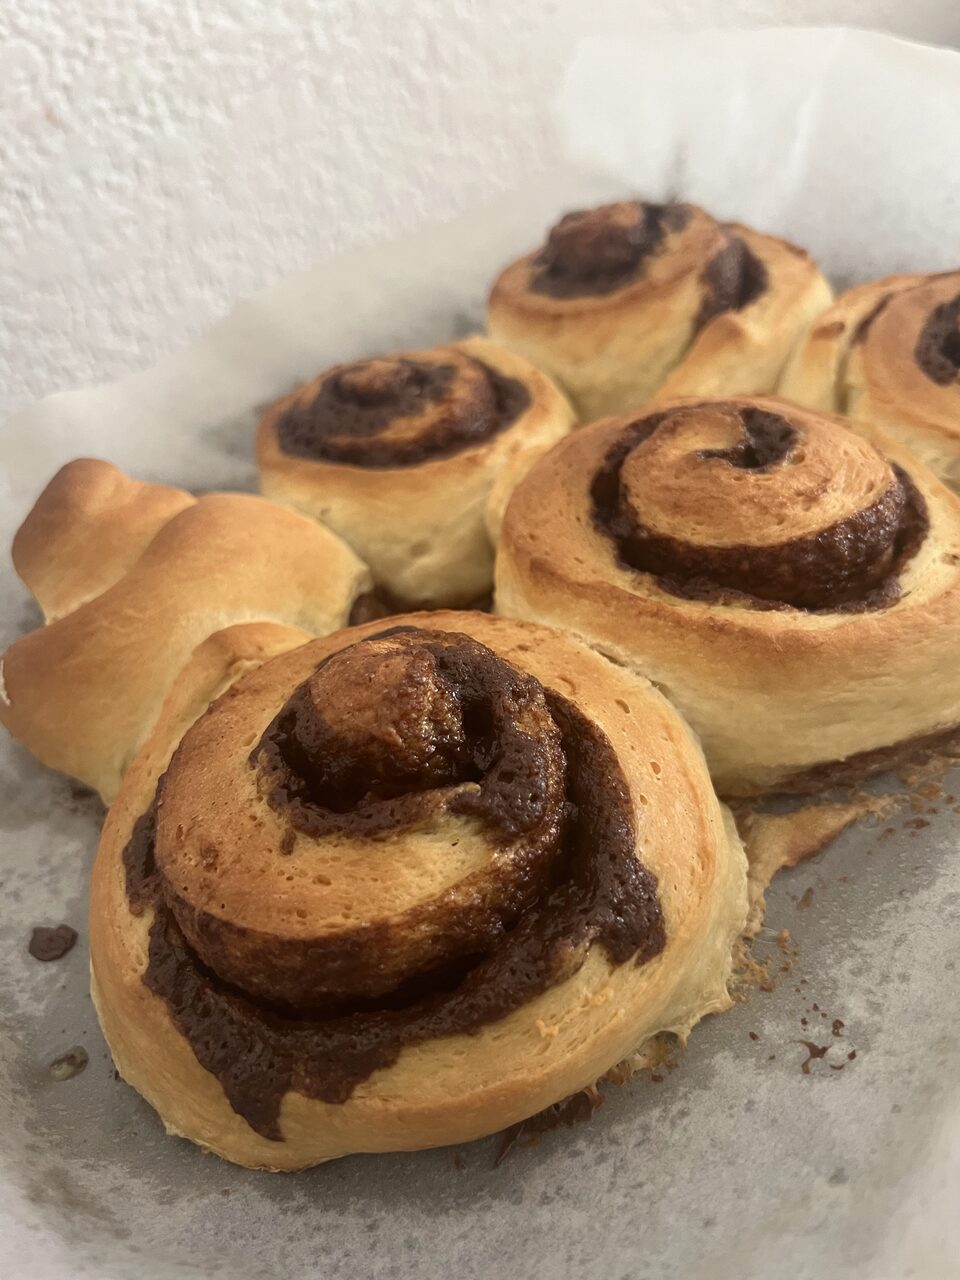
First batch fresh out of the oven: golden in the layers, ready to glaze.
The second batch was a different story. These were the rolls I’d already shaped and left in the fridge; I baked them the next day, a Sunday morning. They lost some of their shape in there (the dough was slack from the over-fermentation), but this time I baked them together and with the full cream bath — all 60 g of evaporated milk with the 10 g of butter. And for some reason they came out much better: softer, moister, much closer to café-grade. I’d give these a 9 / 9.5 out of 10 — highly similar to a café’s, though still not nailing the exact flavor or style. The takeaway proved itself: the full cream bath and baking them together really do move the needle.
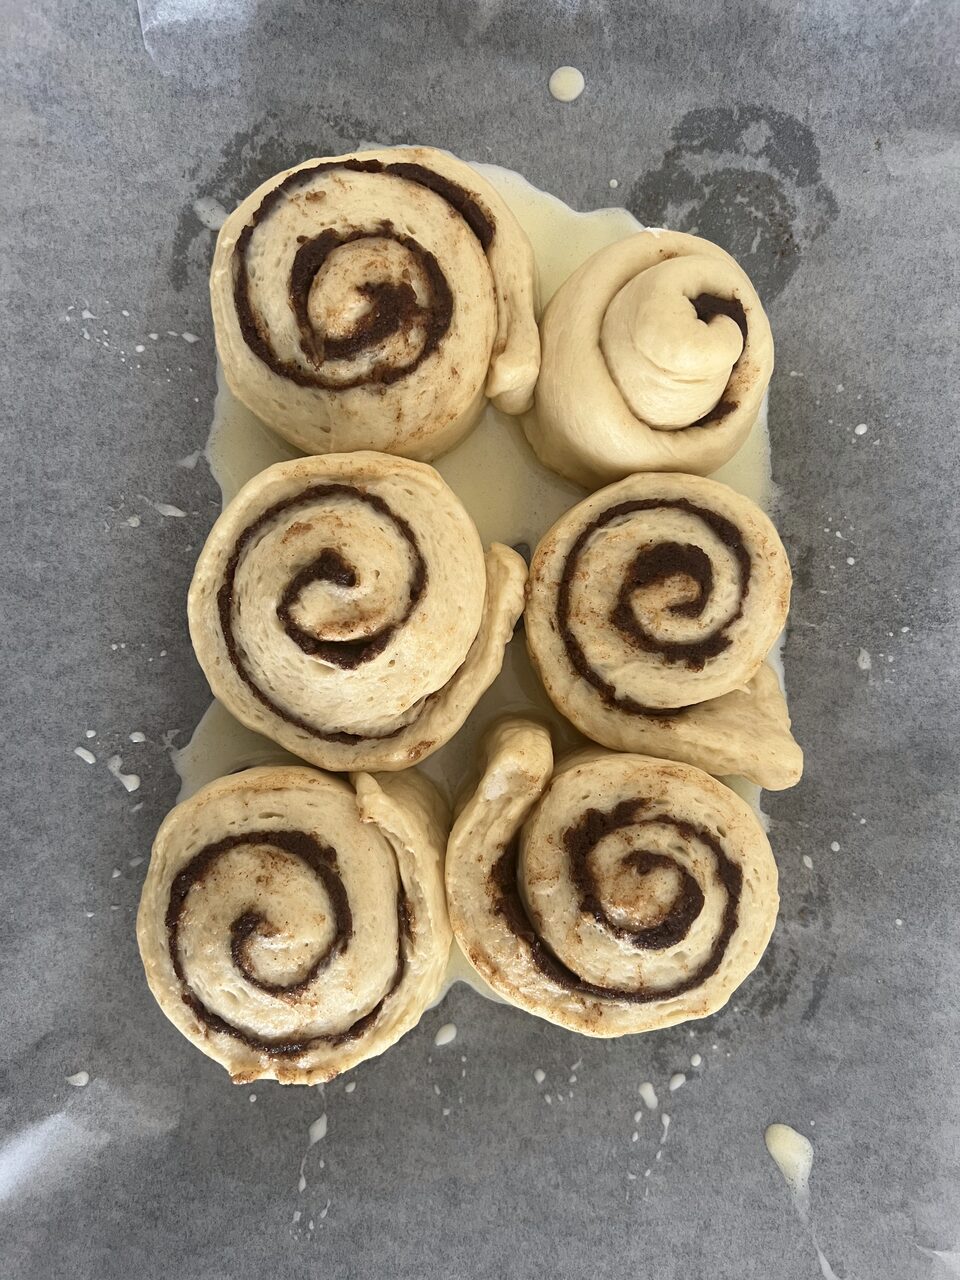
Second batch: bunched together with the evaporated-milk bath before baking. These came out better.
Close up: the cream cheese glaze settling into the layers. Not perfect café-grade, but a 9.5 that made me really happy.
Questions that came up (beginner FAQ)
What is bread flour and how do I spot it? Flour with high protein (gluten). Flip the package: look for ≥11-12 g of protein per 100 g.
What is proofing? The rest where the yeast generates gas and the dough puffs up. There are two: a short one before the cold, and the second that starts in the fridge and finishes on the counter.
What is tangzhong? A cooked paste of flour + liquid that pre-gelatinizes the starch; it holds more water → softer bread that lasts for days.
Where do I knead? Mix in the bowl, knead on the counter (that’s where you put your body weight into it).
Do I flour the counter? As little as possible. This dough is sticky on purpose; too much flour dries it out. Better a light dusting or a few drops of oil on your hands.
When do I add the butter? After kneading ~5 min, once the dough is smooth and elastic (not at the start: fat slows gluten down).
Does imitation vanilla work? Yes. It’s artificial, so use a little more and add orange zest to compensate.
Freezer or regular fridge? Regular fridge. The freezer kills the yeast.
Cinnamon filling in the fridge? No: leave it out, covered, so the butter stays spreadable.
Lessons for next time
- Respect the retard clock. 12-13 h max at this yeast dose (7 g). If you need 18-24 h, drop to 5 g. Overdo it = beer smell and dense crumb.
- Bake the rolls together, not spread apart: less crust, softer.
- Pull them earlier (~13-14 min for small pieces) and go by the toothpick / 88-90 °C, not by the top color.
- Cream bath only in a rimmed pan with the rolls together.
- Glaze warm and cover for a few minutes to soften.
- Have foil ready or a plan B (lower rack / shield pan) before you start.
- They came out a bit sweet → spread the filling evenly across all 12 pieces (if you bake only 6, use half the filling) or drop the brown sugar from 110 to ~90 g. Evaporated milk and the glaze also add sweetness.